You may work with a wide variety of different customers in your day-to-day life. Some of your customers might work for big companies. Some might be entrepreneurs doing things on their own. No matter what size their company, your customer should consider what Post-it® Notes could do for them. Here are four of the reasons Post-it® Notes are a great fit for customers large, small, and everywhere in between.
1. Small Need? No Problem!
One of the biggest reasons that Post-it® Notes are a great fit for a wide variety of customers is that there are a wide variety of quantities available. Does your customer want to create just a few note pads? Are they a smaller business looking for a great employee “thank you” or a gift for top customers? Low quantities of Post-it® Notes are here to deliver!
2. The Same Goes for Big Projects
Is your customer looking for more? Post-it® Notes are a flexible product that can deliver. Whether your customer wants to create a promotional piece for a large event or has several locations in need of practical sticky notes with branded flair, larger quantities make Post-it® Notes pads a great fit for their larger projects, too!
3. Personalized Printing Makes Notes a Canvas for Many Projects
It can be easy to think of Post-it® Notes as only a note pad, but with a bit of creativity they are a great canvas for a wide variety of different print pieces. Does your customer want an invoice that will stick with their products in transit? Consider a larger Post-it® to keep that information with the package being delivered. Is your customer looking for a practical form? The adhesive on Post-it® Notes will stick securely to homework after a student absence, paperwork in need of a signature, and a wide variety of other documents. Does your customer want to highlight donations to their nonprofit? They can create a colorful sticky note to be displayed in donation centers as a visual reminder of every donation.
4. The Name You Know
Your customers will appreciate that they can personalize genuine Post-it® Notes when they are ordering their print. They stick securely, remove cleanly, and come in a variety of different sizes, making them deserving of their status as a household name.
Ready to place an order? You can order short and long run Post-it® Notes quantities through our catalog, or through Navitor.com.
How do your customers use long or short run Post-it® Notes? We’d love to see you join the conversation in the comments below.
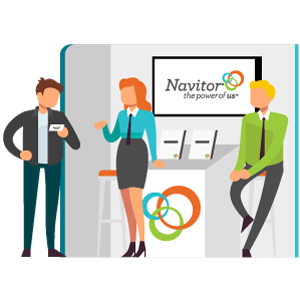 Whether you’re attending a tradeshow or setting up a booth to promote your print business, you’ll meet a wide variety of people at a show. Depending on their goal for the show, they might have a very different approach to tradeshow attendance than you do. Here are four people you’ll meet at the next tradeshow you attend.
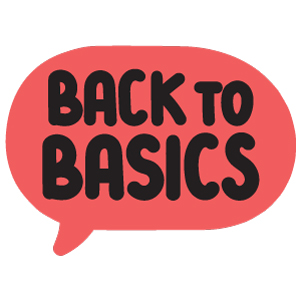 Summer can be a tough time for marketing. You’re busy and your customers are busy, and that can make it a challenge to create an effective marketing strategy. However, those challenges also make it a great time to get back to basics with your marketing! Here are four tips that will help you bring your marketing back to basics.