You know that every print piece your customers buy has a personality. Maybe their business cards express just how professional and polished they are. Maybe they evoke a sense of fun. Maybe they show off something new and exciting. With all that personality, you might start to see yourself in the many print processes you offer your customers. So, which print process are you?
1) What does your desk look like?
A. Decorated! I like to have a fair bit of color around me. I also like to have my resources at the ready so I can use them whenever I want.
B. It’s pretty old school. I like my pens, my file folders, and my bookshelf, but I do like to get good quality pieces that will last a long time.
C. I try to keep my desk clear and as organized as possible. I love that my desk gives me a blank canvas for my work.
D. Organized and simple. Most of the things I’ve got on my desk fall within the same color scheme.
2) Everyone can use an inspiring quote sometimes. Which one of these quotes speaks to you?
A. “Opportunities don’t happen. You create them.”–Chris Grosser
B. “Hard work pays off—hard work beats talent any day, but if you’re talented and work hard it’s hard to beat”—Robert Griffin III
C. “Make an empty space in any corner of your mind, and creativity will instantly fill it.”—Dee Hock
D. “The secret of success is to do the common thing uncommonly well.”—John D. Rockefeller Jr.
3) What’s the fastest way to catch your attention?
A. Vibrant color
B. Quality
C. Subtle detail
D. Strong design
4) Which of these is most important when you’re going into a sales meeting?
A. Showing the variety of options you offer.
B. Showing off your company’s history and professionalism.
C. Making a striking first impression.
D. Showing the thing that you do the best.
5) What do you think about taking center stage?
A. Sounds fine to me—I’m flexible.
B. It depends on the stage. I’m more comfortable in a professional setting than entertaining.
C. I can do that, but I also like to support others who are more colorful than I am.
D. I’m not loud, but I’m perfectly comfortable being the center of attention.
ANSWERS:
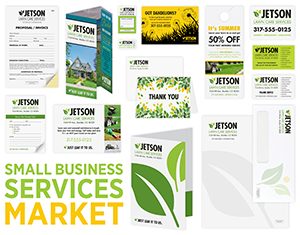
Mostly A’s: You’re Full Color! Full color print is vibrant and versatile, just like you.
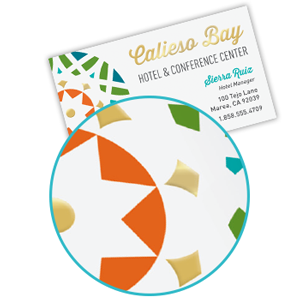
Mostly B’s: You’re engraving! Professional, polished, and maybe even a little bit upscale, engraving is a great fit for high end customers.
Mostly C’s: You’re spot gloss! Whether flat or raised, you’ve got plenty of potential. You work well paired with full color print, but you can also shine on your own to add a subtle design element.
Mostly D’s: You’re spot color! Tried and true—and maybe a little old fashioned in the very best way—you’re someone who knows what they do best.
So which print process are you? We’d love to see you join the conversation in the comments below.